Viewing entries tagged
homemade chocolate

Dark Chocolate Cluster Snacks

2 Comments

Dark Chocolate Cluster Snacks

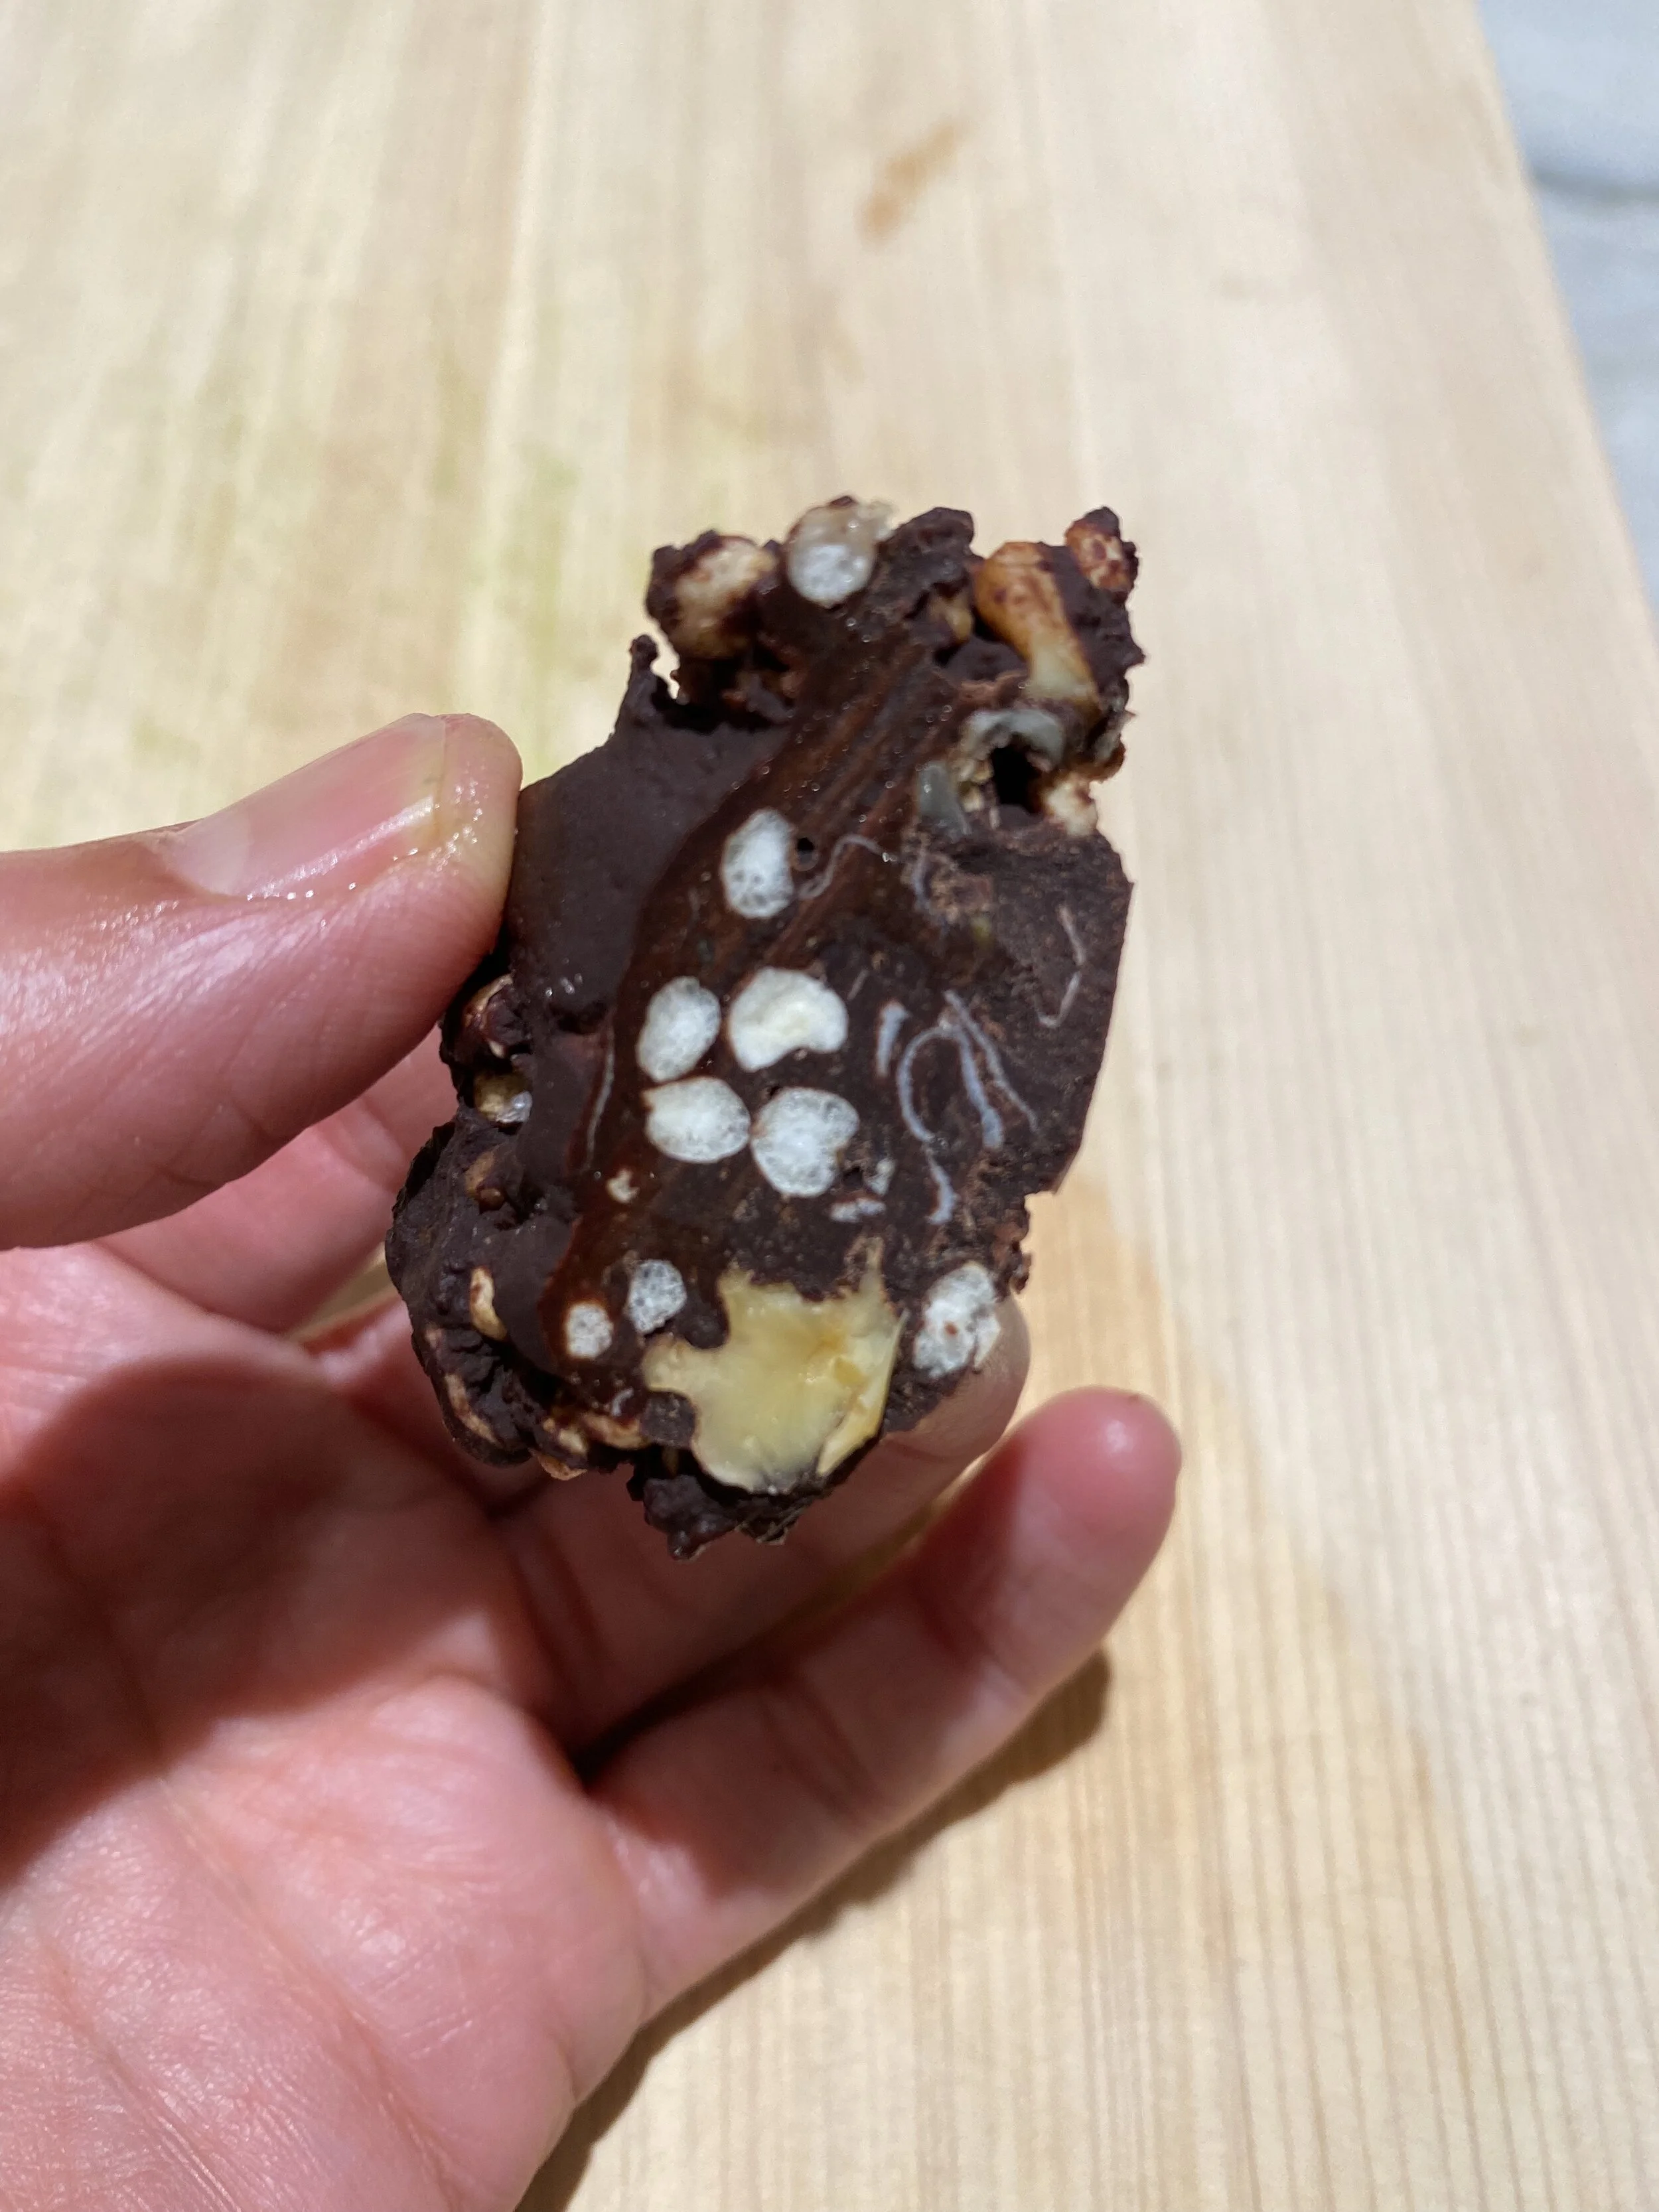
Keep these bad boys in your fridge when you need a sweet, nutritious snack post-yoga or for dessert!

While this recipe calls for ingredients like shredded coconut, walnuts, and puffed millet, chocolate clusters can be as creative as you like, so feel free to substitute other ingredients you enjoy such as pecans, macadamia nuts, pistachios, or dried cranberries.

Instead of lemon zest, you could also flavor with cinnamon, cardamon, nutmeg — and you could even add herbal powders or mushroom powders for a superfood boost. I highly recommend 2 scoops of any of Four Sigmatic’s blends (use code YOGALOVESYOU for 10% off!).

This recipe is great because the chocolate melting process takes some time, which allows you to prep other things or get different stuff done in the kitchen.

Prep/Cook time: 45 minutes

Ingredients:

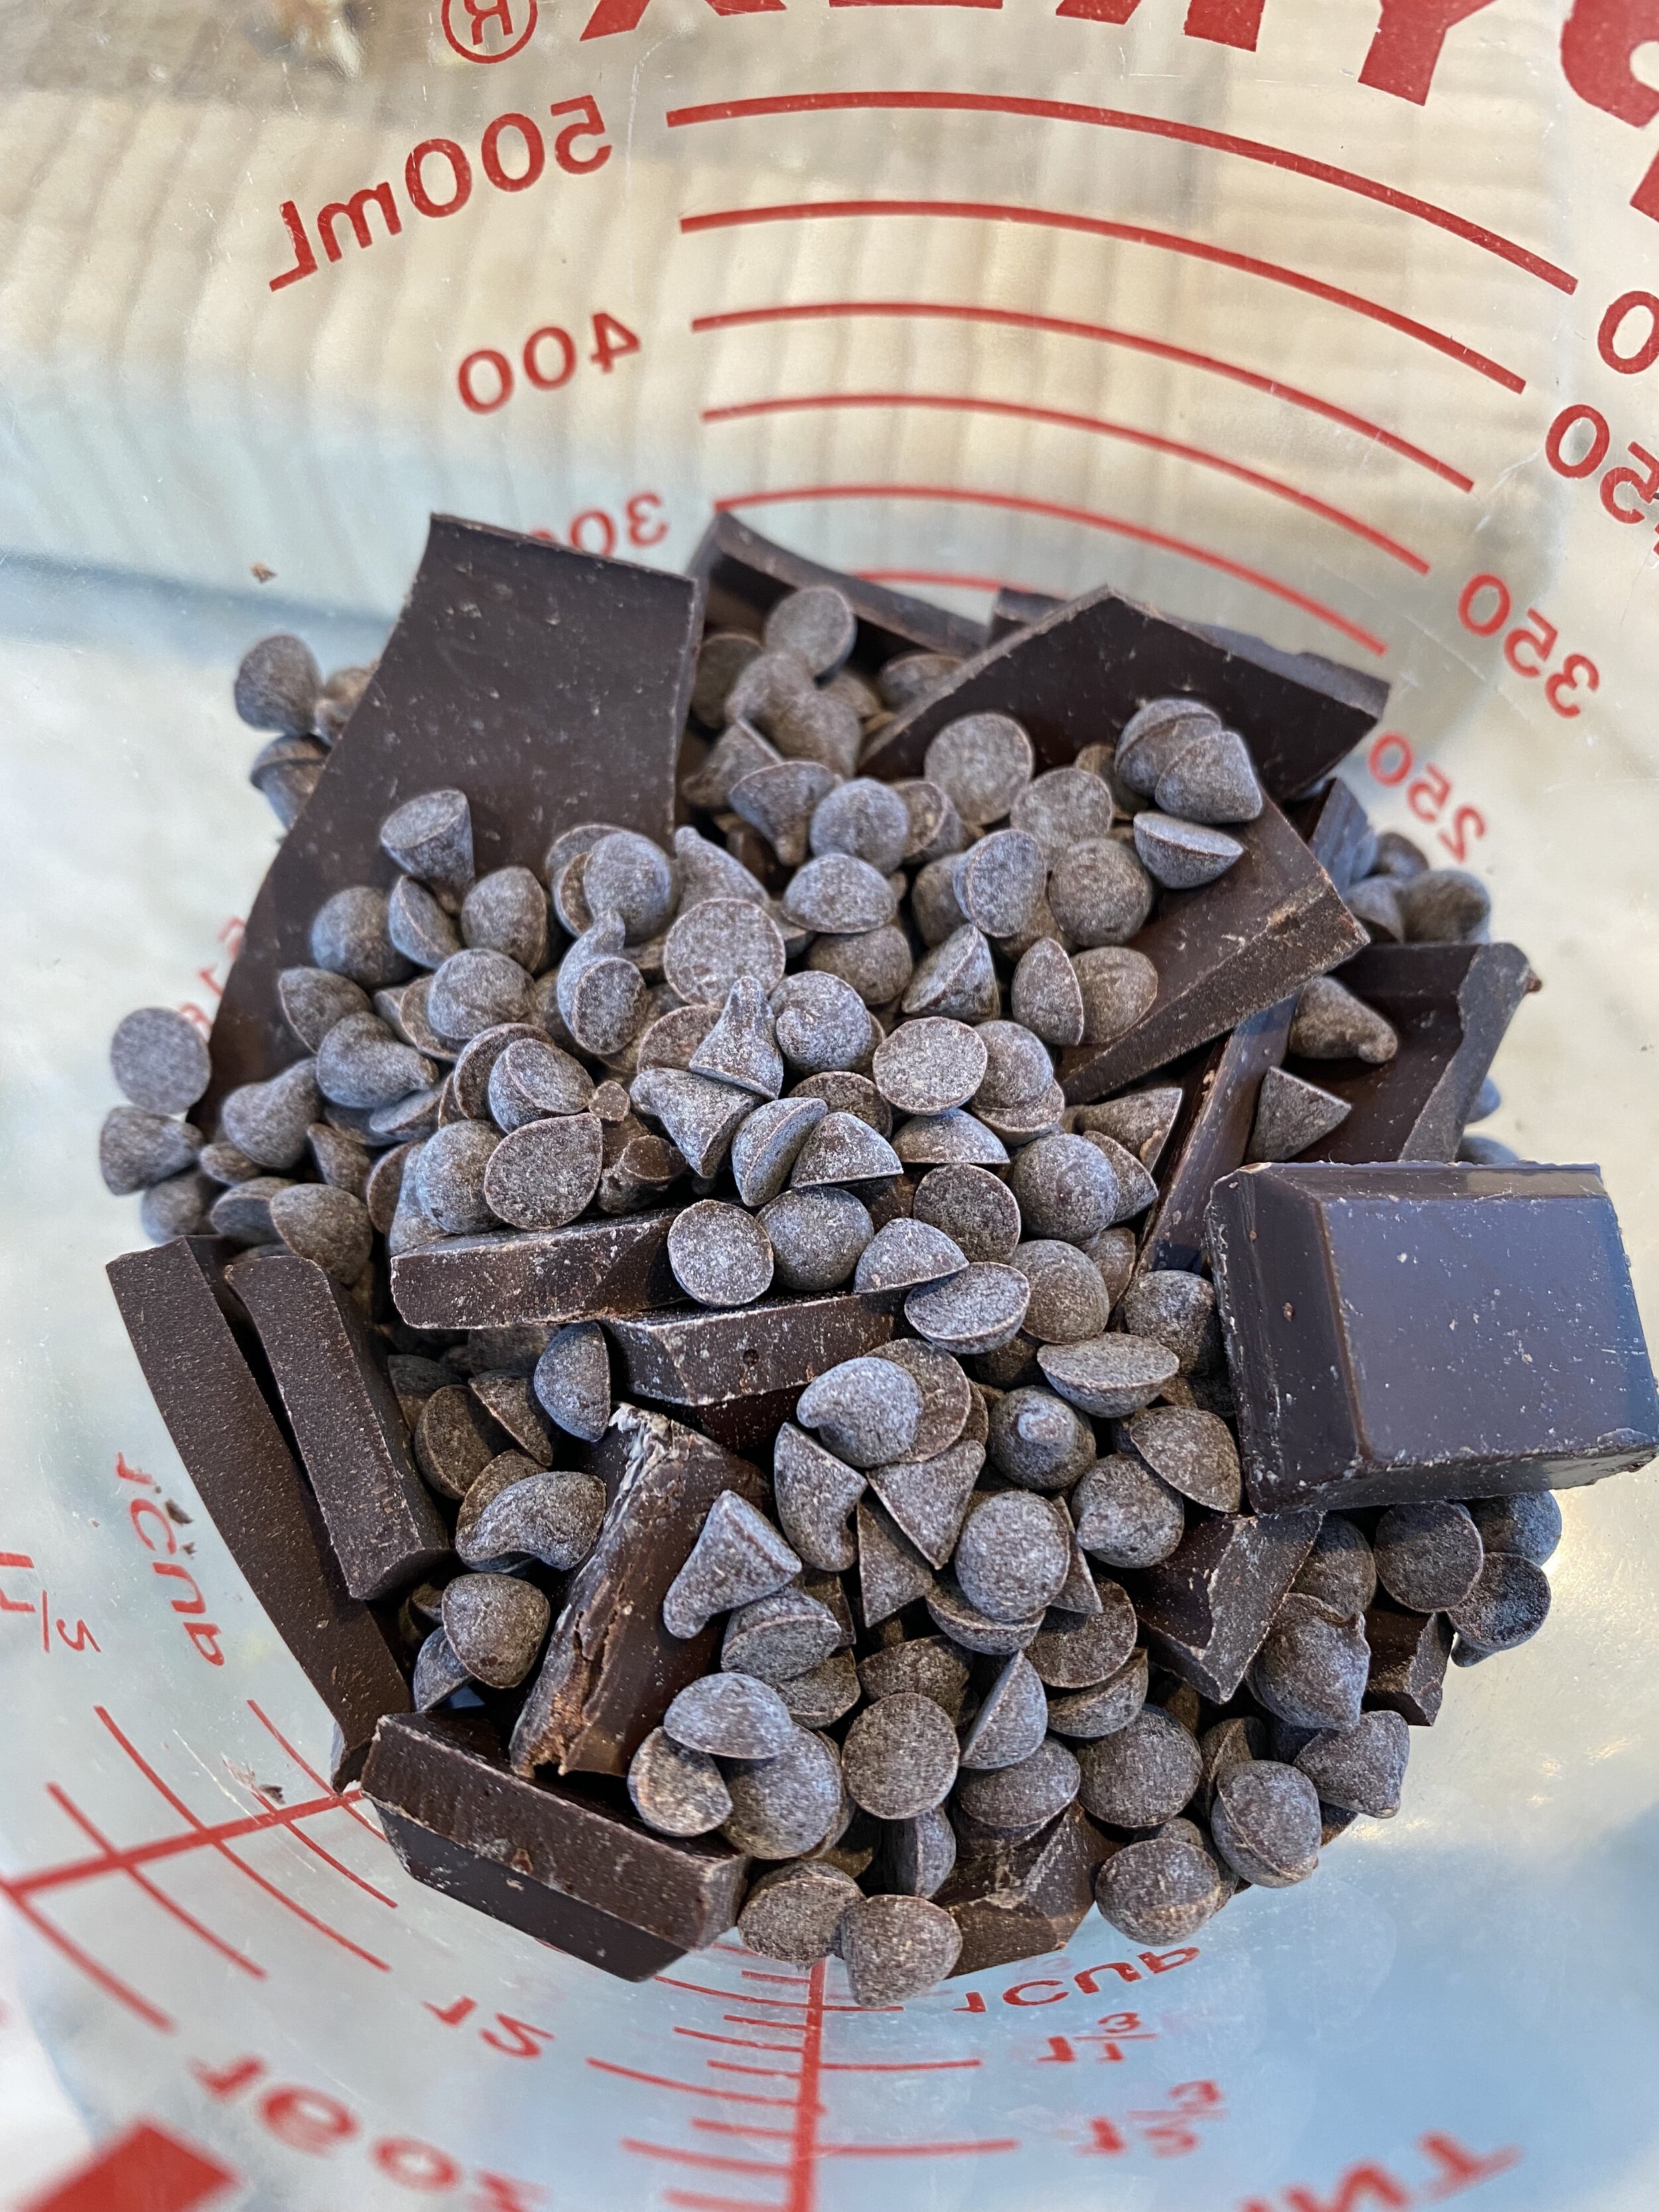
  • 1 and 3/4 cup of 85% organic dark chocolate chips (and/or break up a chocolate bar)

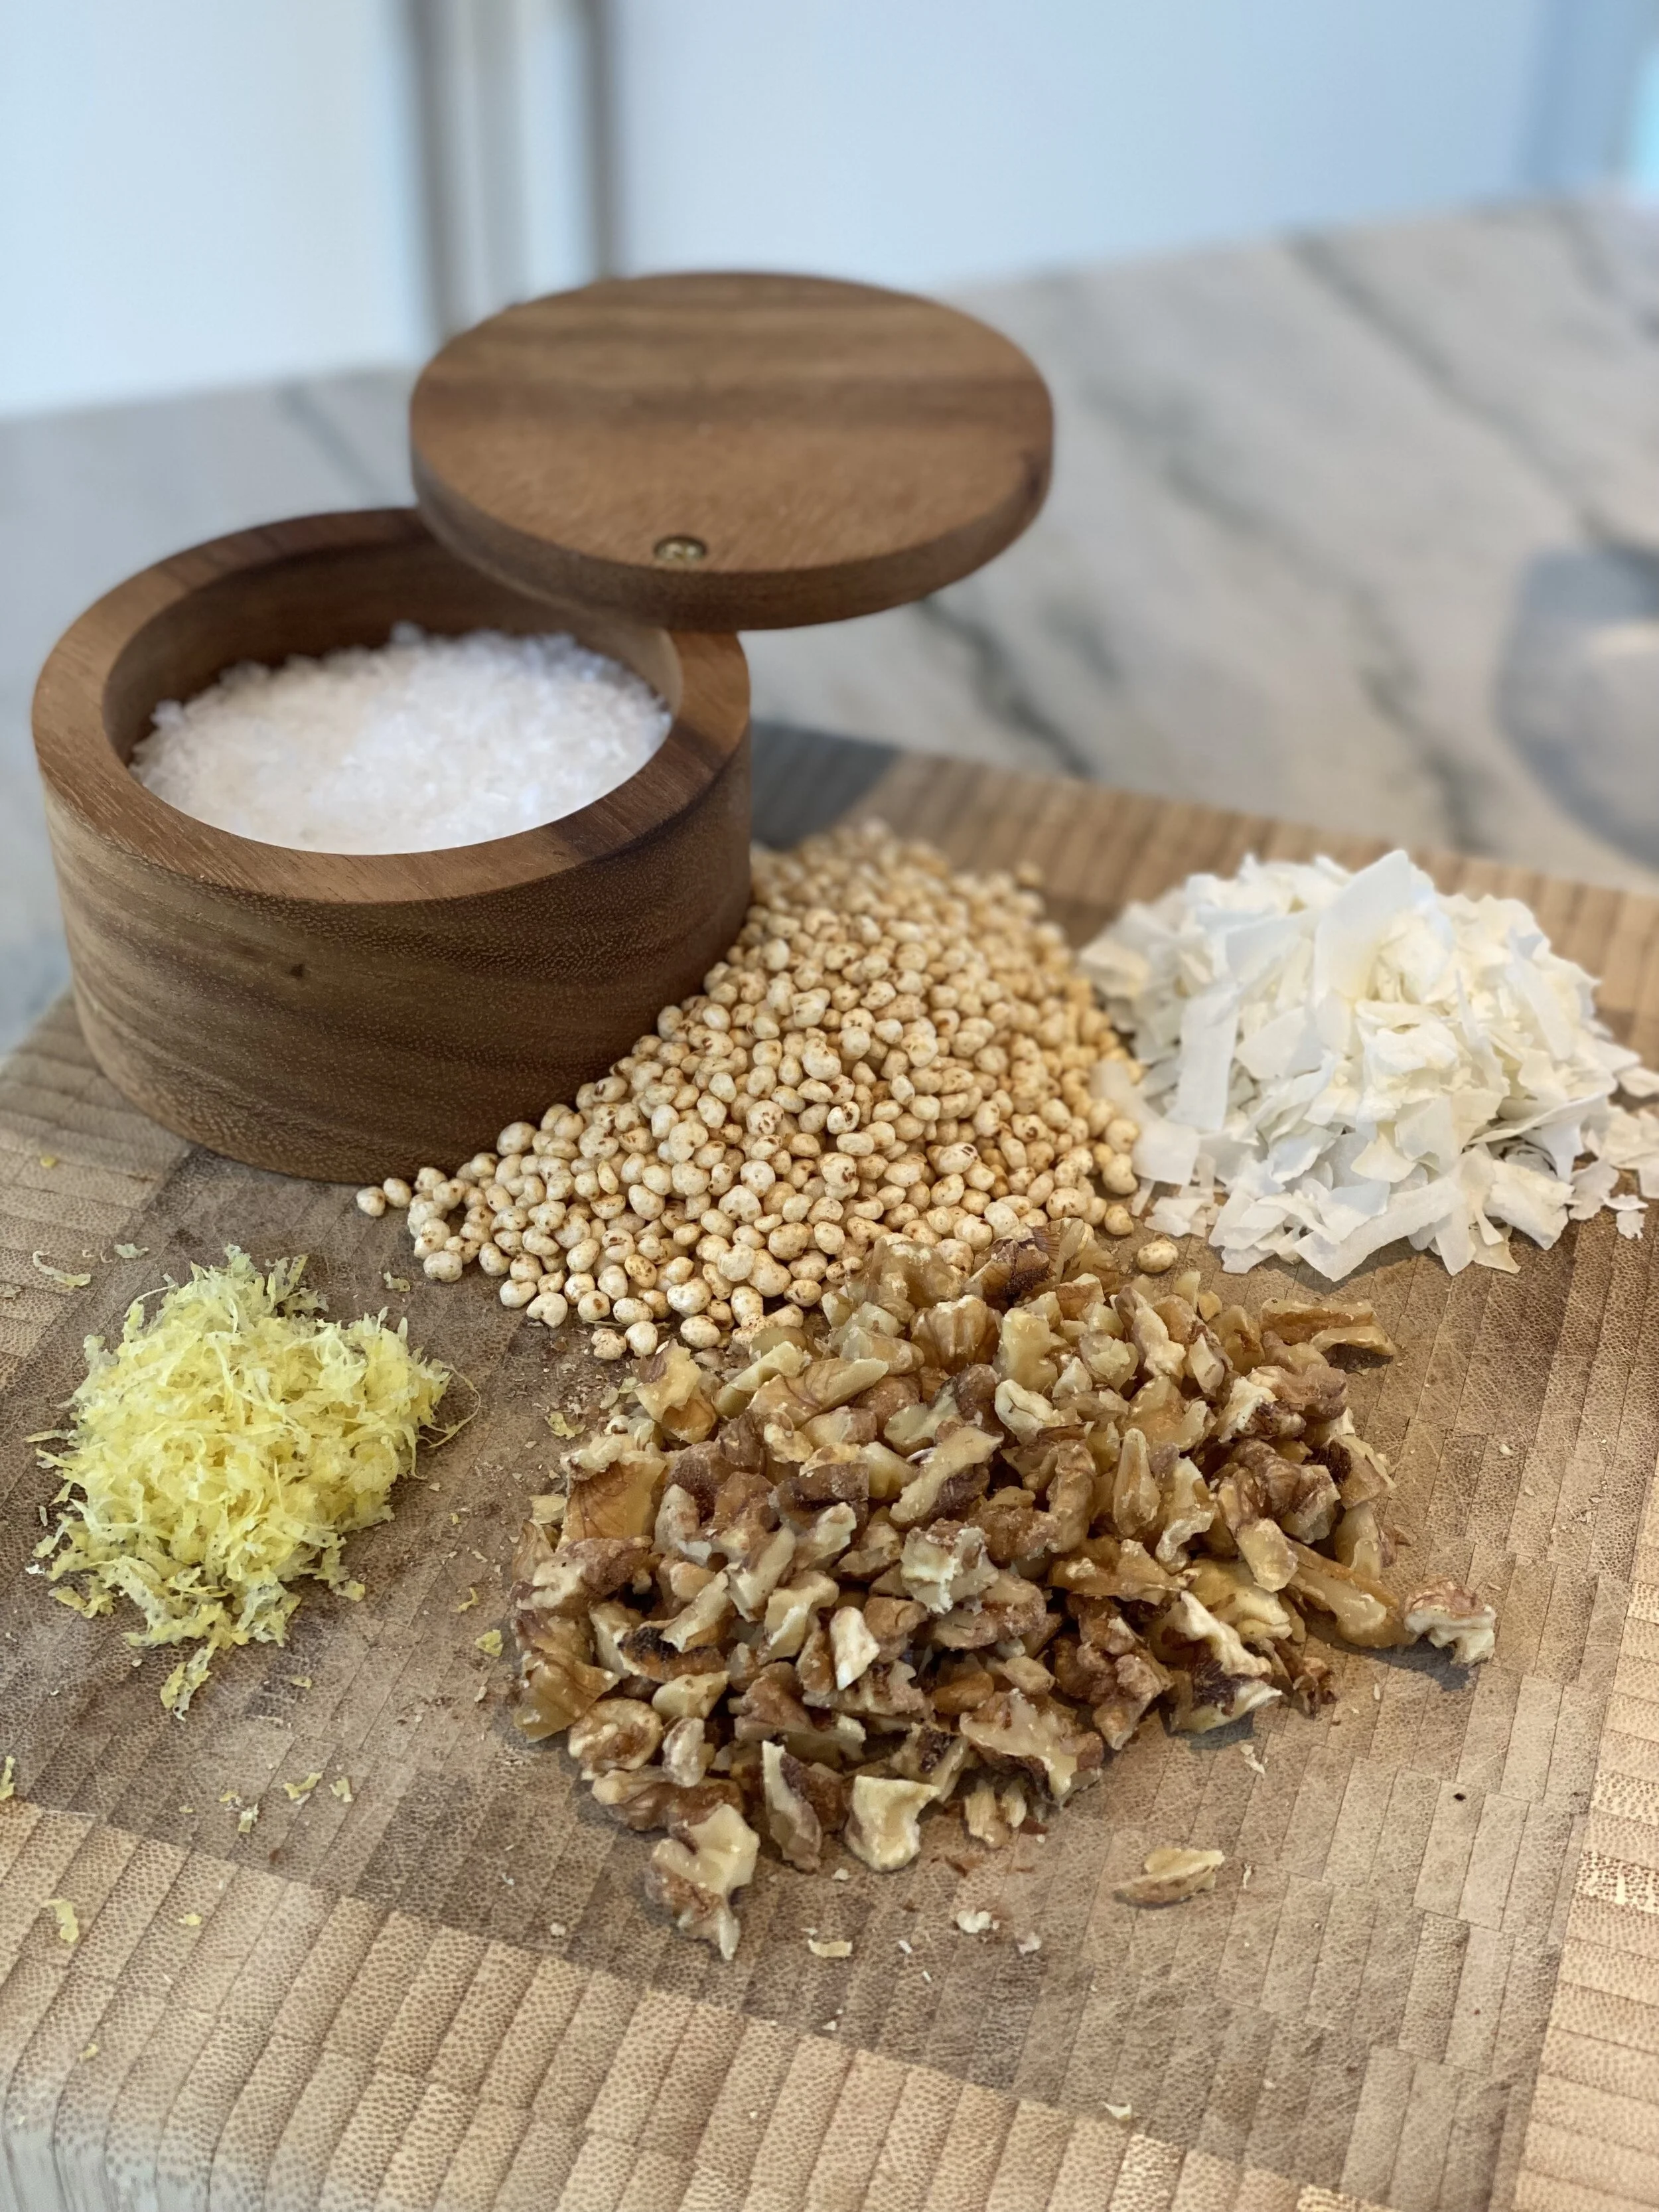
  • 1/3 heaping cup of organic chopped walnuts

  • Small handful of organic shredded coconut

  • 1/3 cup puffed organic millet (optional)

  • Zest of 1 small organic lemon

  • Sea salt (flaked is ideal)

Equipment needed:

  • Double boiler (or a small pot that can fit into a larger pot)

  • Lemon zester or grater

  • Parchment paper

  • Sheet pan or cookie sheet

  • A pan to lightly roast the nuts

I get my walnuts from two places - Thrive Market has them organic, sprouted, and dried, and Patagonia Provisions carries Old Dog Ranch Walnuts, grown using Regenerative Organic farming practices, which is currently the best solution in halting climate change!

Instructions:

  1. Get the double boiler ready by filling the larger pot with water, floating the smaller pot inside the larger pot, and heating on medium.

  2. Add chocolate to the smaller pot and stir regularly as it melts.

  3. While it’s melting, assemble your other ingredients, chop the nuts, zest the lemon, place a piece of parchment paper on your cookie sheet or sheet pan, and lightly toast the chopped nuts in the pan.

  4. Once the chocolate is smooth and melted, let it cool for 3 or so minutes.

  5. Add the toasted nuts, millet, coconut, and lemon zest to the chocolate and mix together.

  6. Spoon out the mixture into clusters on the parchment paper.

  7. Sprinkle salt on top of each cluster.

  8. Pop them in the fridge (or outside if the weather is cool) to solidify - should take 25 minutes.

  9. ENJOY!

IMG_0716.jpg

2 Comments

DIY Maca Superfood Chocolate Cups!

3 Comments

DIY Maca Superfood Chocolate Cups!

Last month I posted a Superfruit Fizz recipe that I concocted in my kitchen with the help of the women of Gaia Herbs. Now we are back at it for round two with Stepfanie Romine, recent co-author of The No Meat Athlete Cookbook and is one of the most fun and innovative vegan chefs I've met!

This time we made….CHOCOLATE!

Specifically, maca superfood chocolate cups. These mildly sweet bites are packed with healthy fats to satisfy your appetite as well as your sweet tooth. Maca lends a boost of energy for the perfect afternoon pick-me-up.

After making these with Stepfanie, I have made them a number of times for friends and students, and they have been a massive hit!

Part of what makes these so excellent is not just how they taste, but how totally easy they are to make.

Here’s the recipe and instructions:

Ingredients:

  • 1/4 cup creamy, unsalted nut butter
  • 1/4 cup unrefined coconut oil, melted
  • 2-3 tablespoons unsweetened dark cocoa powder
  • 1 tablespoon maple syrup, plus more if desired (optional, or another sweetener)
  • 3 tablespoons Gaia Herbs MacaBoost Cacao-Ginger or Gaia Herbs Organic Maca Powder

Garnishes: Goji berries, hemp seeds, chopped nuts, chopped dried fruit, cinnamon, cayenne, flaky sea salt, puffed quinoa

Directions - And see VIDEO below:

  1. Use a fork or a whisk to combine the nut butter and coconut oil in a small bowl.
  2. Once combined, whisk in the cocoa powder, maple syrup and MacaBoost or Maca Powder.
  3. Place a silicone candy mold on a tray or baking sheet, or line a small, shallow dish with parchment paper.
  4. Carefully pour the mixture into the molds, leaving a bit of room at the top, or pour into the prepared dish. Garnish as desired.
  5. Freeze or refrigerate until firm, then pop out of the candy molds or slice into at least nine pieces.
  6. Store in the freezer or refrigerator for up to one month in a sealed container.

These can be eaten immediately out of the fridge or freezer. Due to the coconut oil, which melts at room temperature, these melt slightly when left out.

Serves 9-12.

3 Comments